A Strange Game.

WOPR Summit Logo

On March 1st, 2019, an eclectic group of diverse individuals descended upon Bally’s Hotel in Atlantic City, NJ. Their purpose? Attending a new conference melding hardware, software, and security. A conference called WOPR Summit.

WOPR Registration

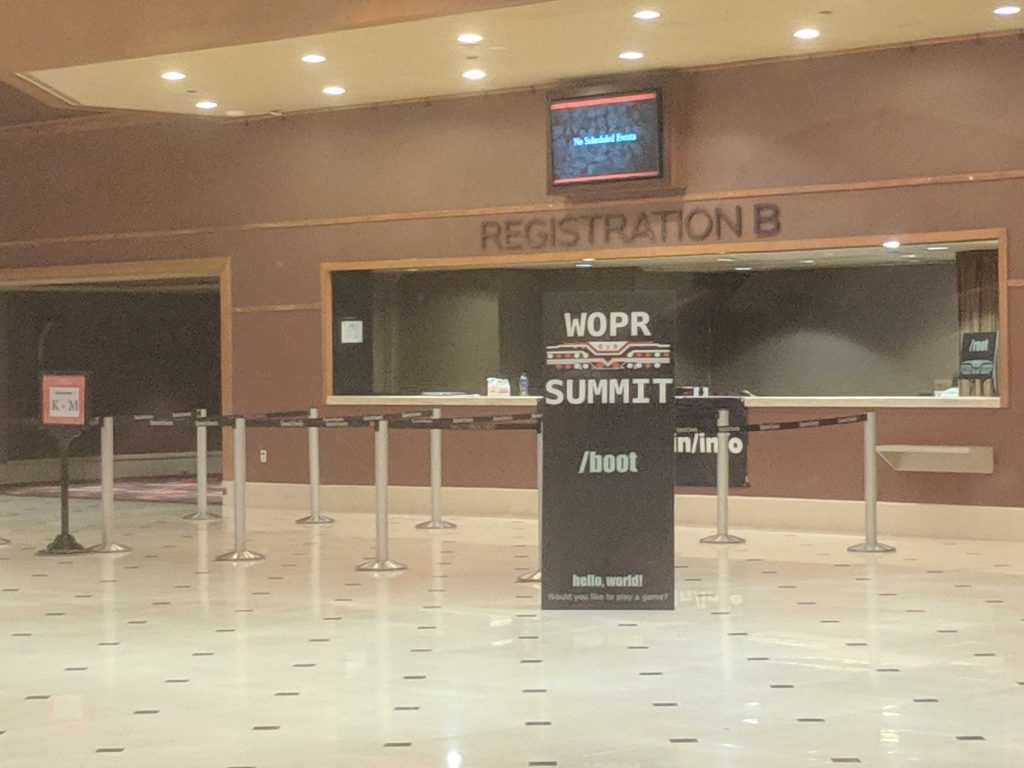
I had the good fortune to both attend and volunteer at this fledgling conference. Upon arriving at the registration desk, attendees were greeted by yours truly who provided them with lanyards, stickers, and a badge that doubles as a maker project.


WOPR Badge

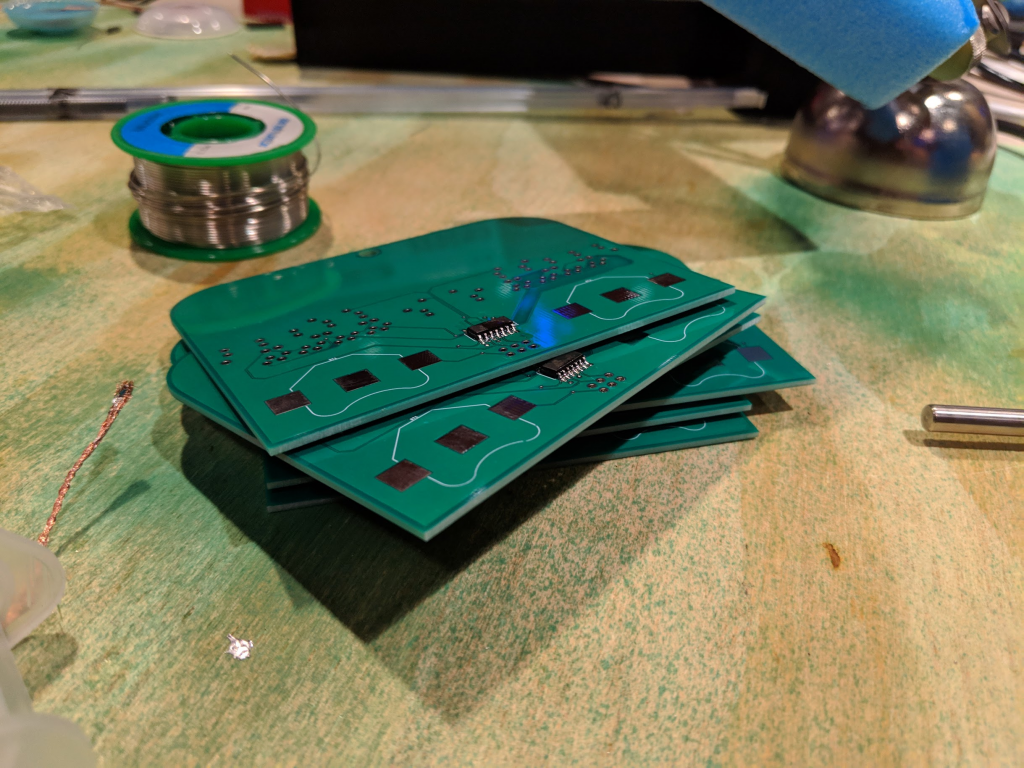
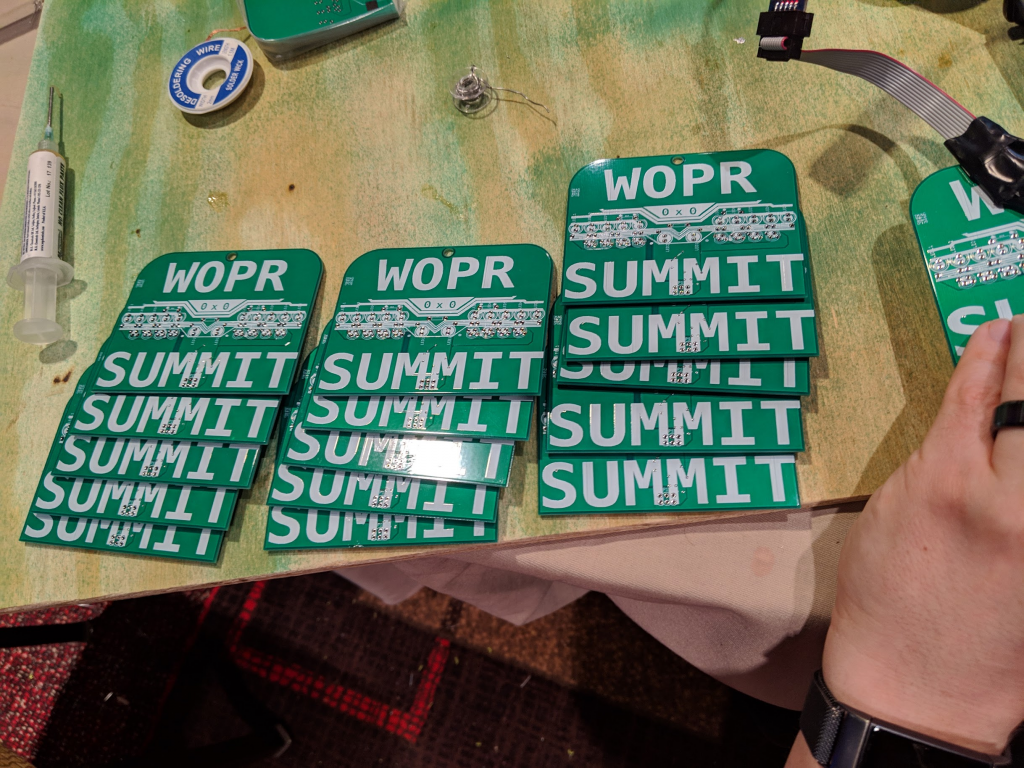
BEHOLD. The WOPR Badge.

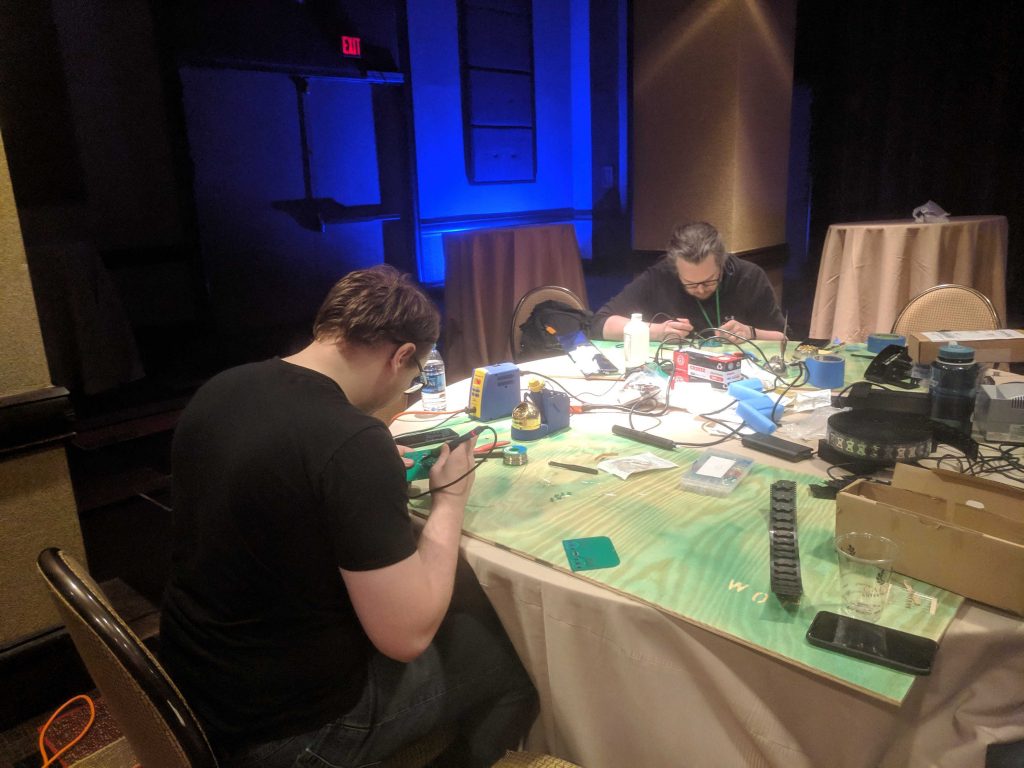
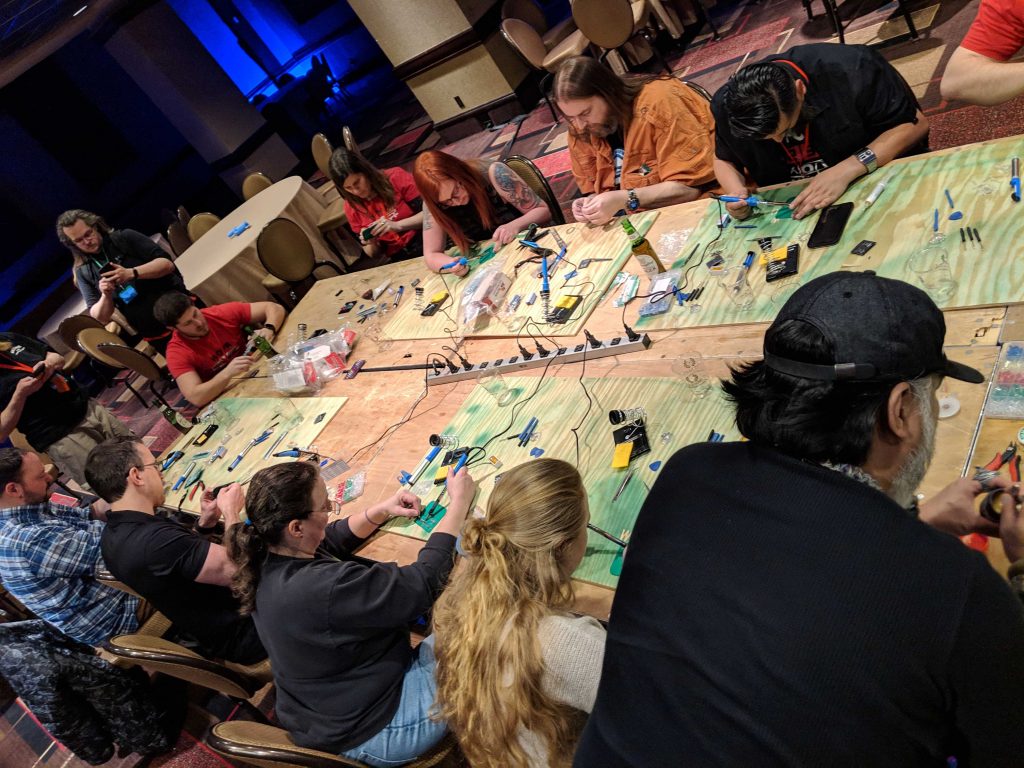
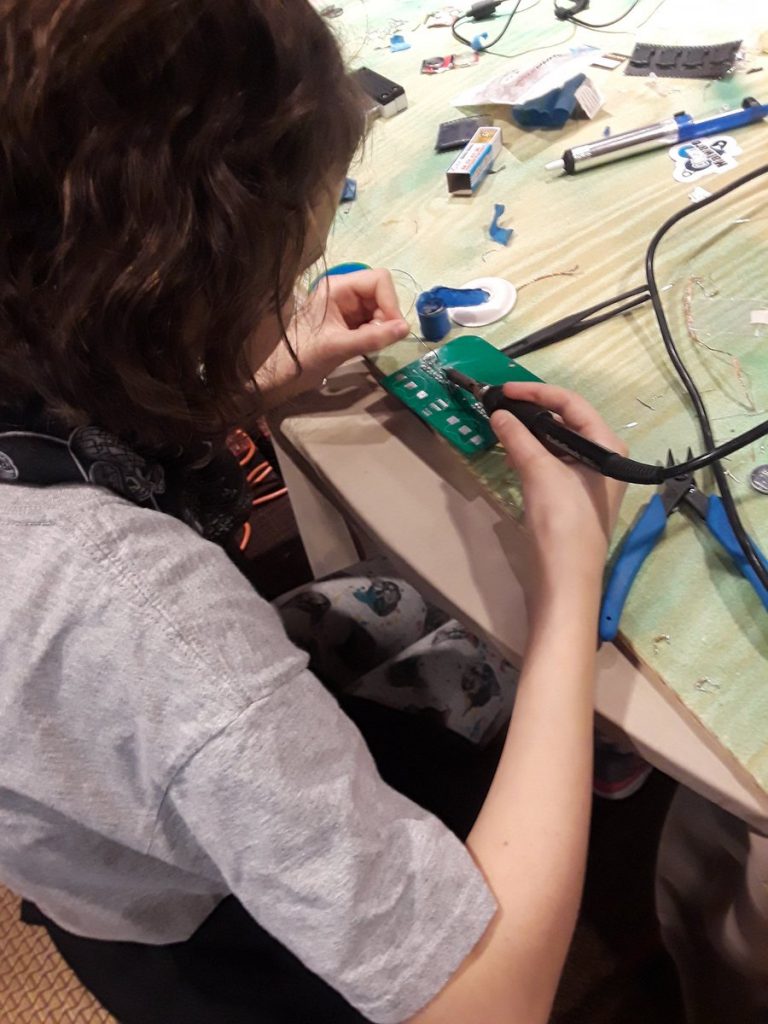
The badge is both an attendees pass into the event as well as a PCB. Throughout the conference, attendees could hang out in the maker space and were provided with all of the parts, tools, and directions necessary to build their badge. When completed, a quick visit to Dragorn or Dr Russ was necessary to flash the badge processor with some Arduino code that made the lights blink in an awfully suspicious sequence. Almost as if there were a hidden message. Hrm…

Completed WOPR Badge

And for those unfamiliar with the black art of soldering, fear not! BiaSciLab to the rescue! Our resident soldering instructor, Bia, held several soldering workshops throughout the conference, providing detailed instruction on how to become a master at fusing small metal bits together with a strong bond of liquid metal. Bia is an amazing teacher and was able to help a lot of people learn this essential life skill. She even brought her own soldering kits that you can read about here.

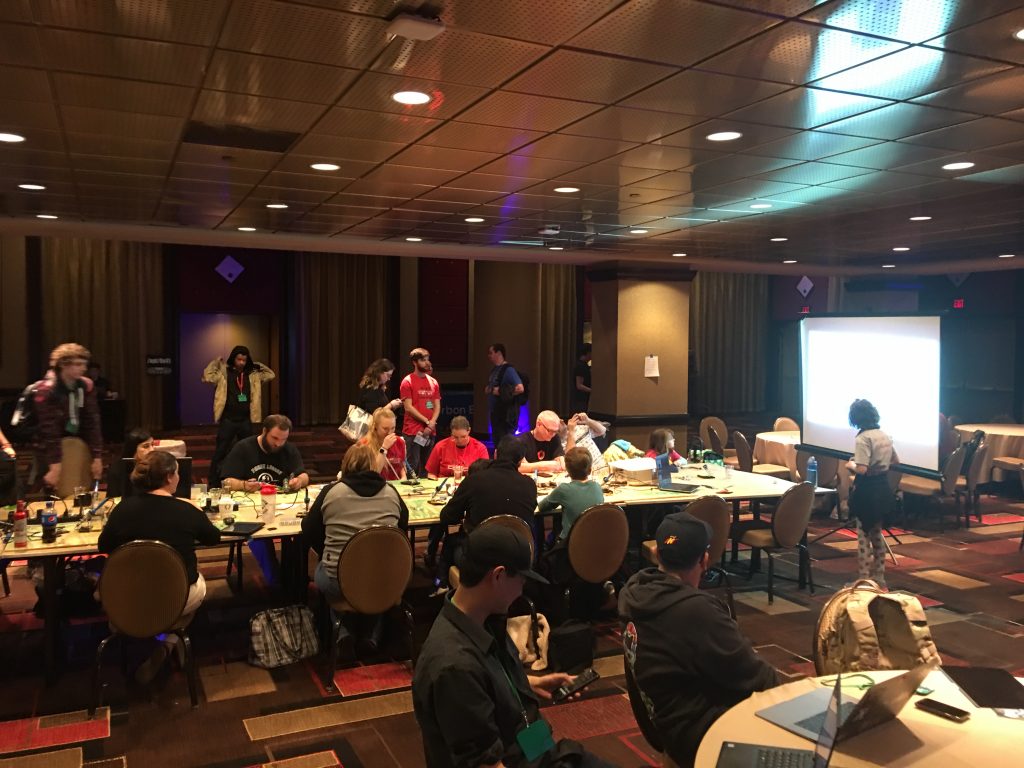
Not into making things? Not to worry, we had that covered as well. Throughout the conference there were both talks and workshops on a variety of topics. Workshops included topics such as NFC hacking, monitoring and incident response using OSQuery, developing prototypes, and reverse engineering. Talks covered similar topics including presentations on Shodan, biohacking with c00p3r, and a peek behind the scenes of the security industry.

Overall, the conference was an amazing success and quite well run for a first-time con. There are a lot of lessons learned and many suggestions on how to improve it for next year. Planning has already begun and we hope to see you there!

MAKE : Mass Monitor Rebuild

A few years ago, I came across a Mass EDI 4-monitor display. The computer system I had just happened to have two dual-display video cards, so it was a perfect match. Last year, one of the displays burned out and had to be replaced. Unfortunately, Mass wanted upwards of $500 for a new display. I did have a number of Dell displays available, though, and decided to look into adding one of those to the mix.

My initial attempt at adding a Dell to the mix was fairly crude, but it worked. I decided to rebuild the entire array this past week and remove the remaining three Mass monitors. There were two main reasons for this. First, the crude setup I had with the first Dell monitor wasn’t an ideal situation. The way the new monitor was mounted, it pressed up against the others and was difficult to adjust. The second reason was that I have a new video card, a Galaxy nVidia GeForce 210, that requires DVI and not VGA. The version of the Mass display I had didn’t support DVI.

And so I started to look at how to better mount a Dell display on a Mass multi-monitor array. The Dell monitor I used initially was a 1907FP. The general size was about right, it just needed to be lifted up away from the lower monitor a bit. The main problem I had with the current mount was that in order to couple the Mass mounting bracket to the Dell mounting bracket, there was really only one location that it could be placed without adding additional hardware. The Dell monitor has a small button on the back to remove it from its mounting, and the Mass has a lever of sorts that does the same. The coupling had to take both of these removal mechanisms into consideration. I spoke with a colleague about the problem and we came up with a small coupling plate that would raise the dell monitor up, keep both removal mechanisms clear, and allow for much better adjustment of the resulting monitor array.

Assembly was pretty straightforward. In order to attach the coupling plate to the Dell monitor, the Dell mount had to be removed from the original stand, lined up with the coupling plate, and holes were drilled to match.

Once the Dell side was finished, the Mass mount was removed from the original monitor and paired up with the augmented Dell mount.

And finally, the new augmented mounting brackets are attached to both the Dell monitor and the Mass monitor array. The dangling VGA cable was for testing prior to the installation of the new video card.

All that remains now is general adjustment of the new monitors. There’s a single Hex screw on the Mass array behind each monitor that can be used to adjust the monitors up and down, as well as some angled movement. This should allow me to adjust the display to exactly what I need. And it now works with the new video card, which was a breeze to install and get running in Fedora.

I love it when a plan comes together.